
All articles
ELCARO Terminal
Order flow: liquidations, large trades and money flow
How to switch on and read liquidation bubbles, the large trades panel and money flow by trade size, with their settings and limits.
Order flow shows what is happening in the largest crypto perpetual markets. On other assets the rows are greyed out. Access follows your plan.
Liquidations
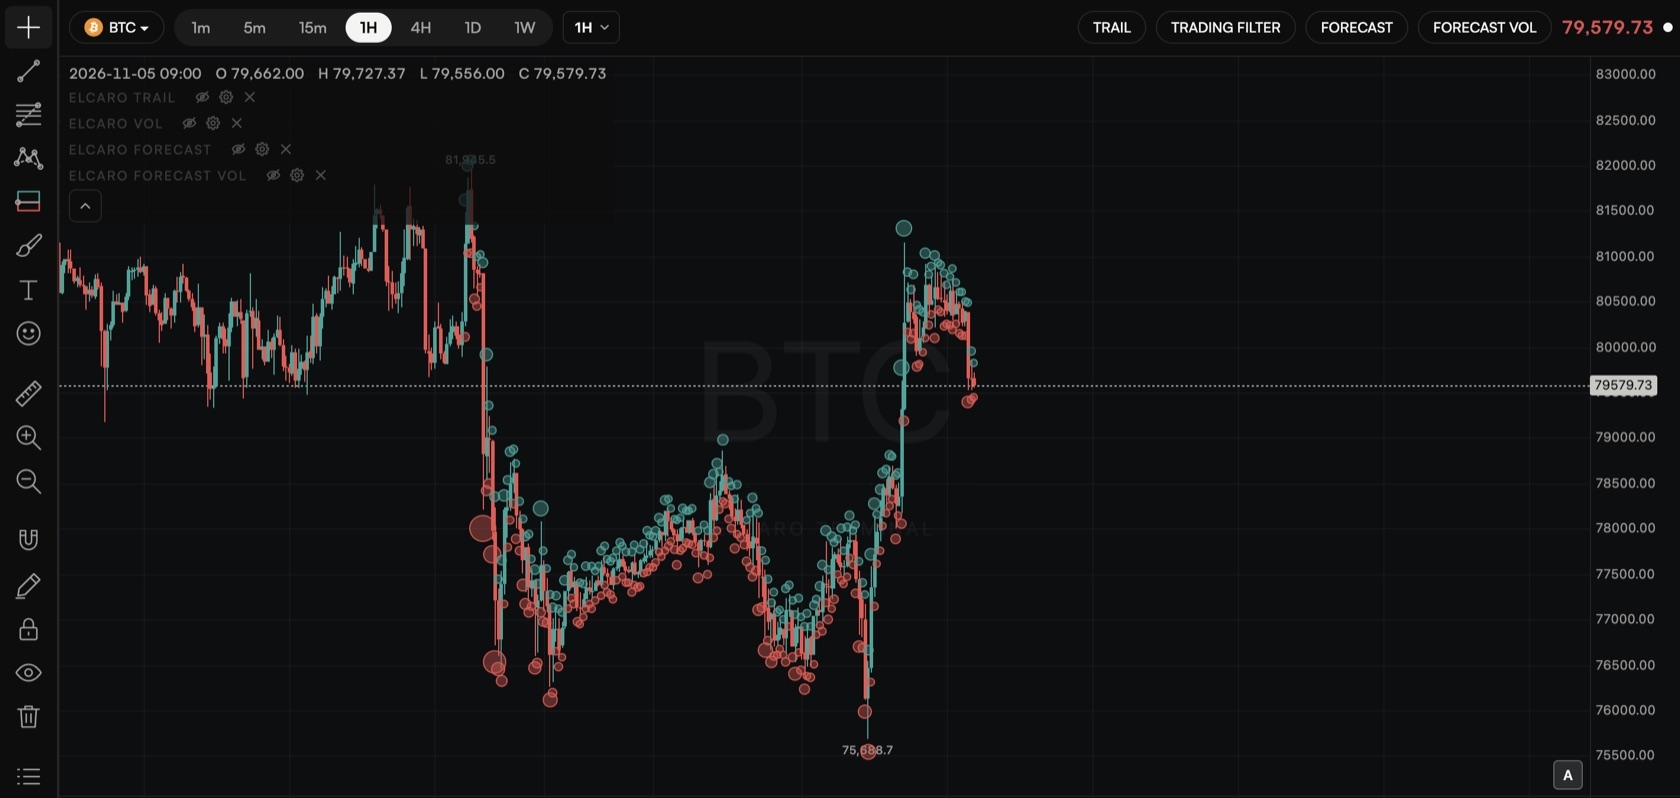
- Step 1. Open a crypto asset.
- Step 2. Indicators → Order flow → turn on Liquidations.
- Step 3. Bubbles appear on the bars of the last 7 days. The bigger the bubble, the more was liquidated in that bar.
- Above the bar: short positions forced out. Below the bar: long positions forced out.
- Hover or tap a bubble for the amount and the split by exchange.
- Settings: the window (1h, 4h, 24h), the bubbles on or off, the total, the split between shorts and longs, and a breakdown by exchange.
- Exchanges report liquidations in batches or samples, so the totals are a lower bound.
Large trades
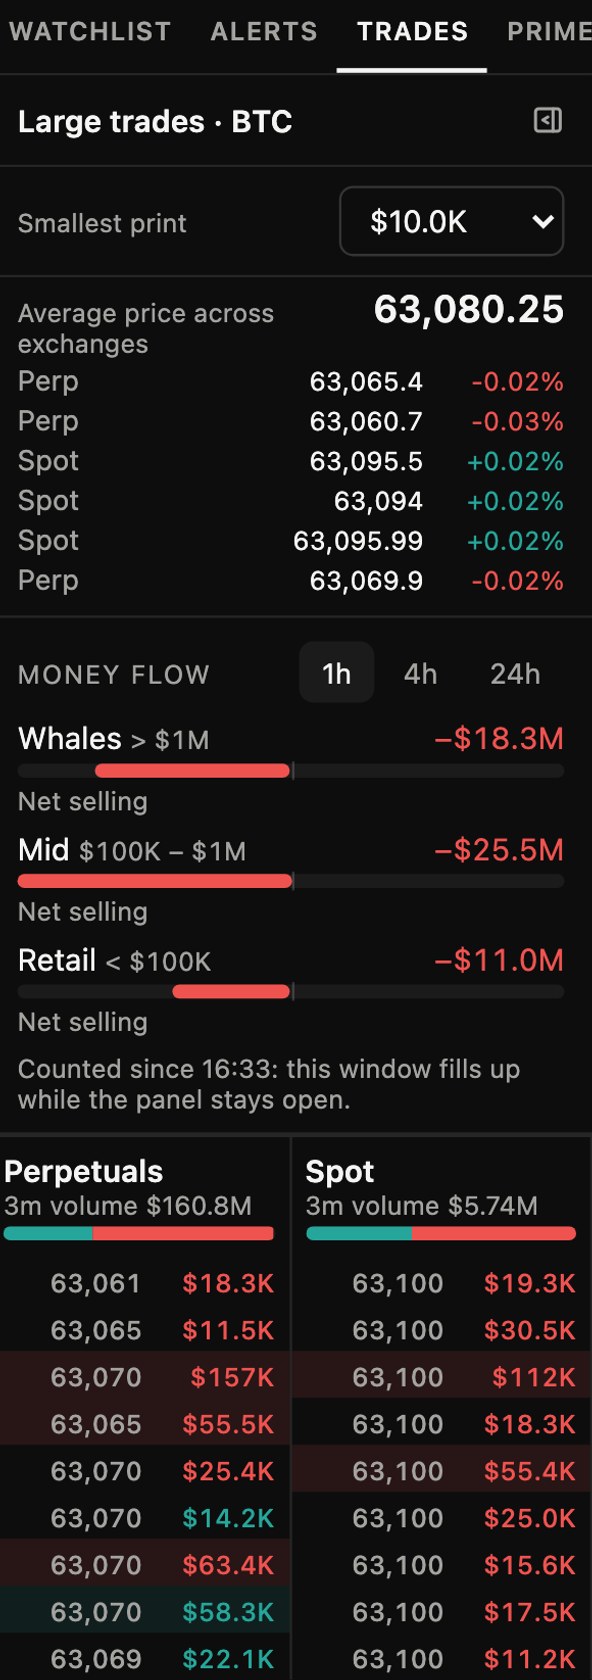
- Step 1. Indicators → Order flow → turn on Large trades. A floating panel opens; dock it as the TRADES tab if you like.
- Step 2. At the top: the average price across exchanges, with each exchange's difference from it. An exchange with no trade for over a minute is left out.
- Step 3. Below: Perpetuals and Spot columns with the exchange, price, size and time of each large trade, shaded by size, plus the 3-minute volume of each market.
- Settings: the smallest trade shown: $10K, $50K, $250K or $1M.
- USDT markets only.
Money flow
- A card inside the large trades panel.
- It shows the net flow of three groups by trade size: whales (over $1M), mid ($100K to $1M) and retail (under $100K), over 1h, 4h or 24h.
- Each group is marked as net inflow, net outflow or balanced.
- The sums start when the panel starts watching the asset, so longer windows fill up while the panel stays open.
In the news: liquidations · large trades and money flow
Read next
The options data panel
Call and put volume, open interest by strike, the put/call ratio, implied volatility and recent options trades in one panel: how to open, dock and read it.
Terminal plans and access
What every account gets, what the 14-day free window opens, what each app plan opens in the Terminal and what the ELCARO Terminal plan adds.